Getting started: your first tree
Every family in Family Trees grows from one person: you. This guide takes you from the first launch to a page with your own photo on it, and your parents one tap away.
Steps
Open the app
The first launch shows three short pages: your family as an album and a tree, their voices and stories, and photos that know who’s in them. Tap Continue to move through them, or Skip to go straight to the last page. There is no account to create and nothing to sign in to.
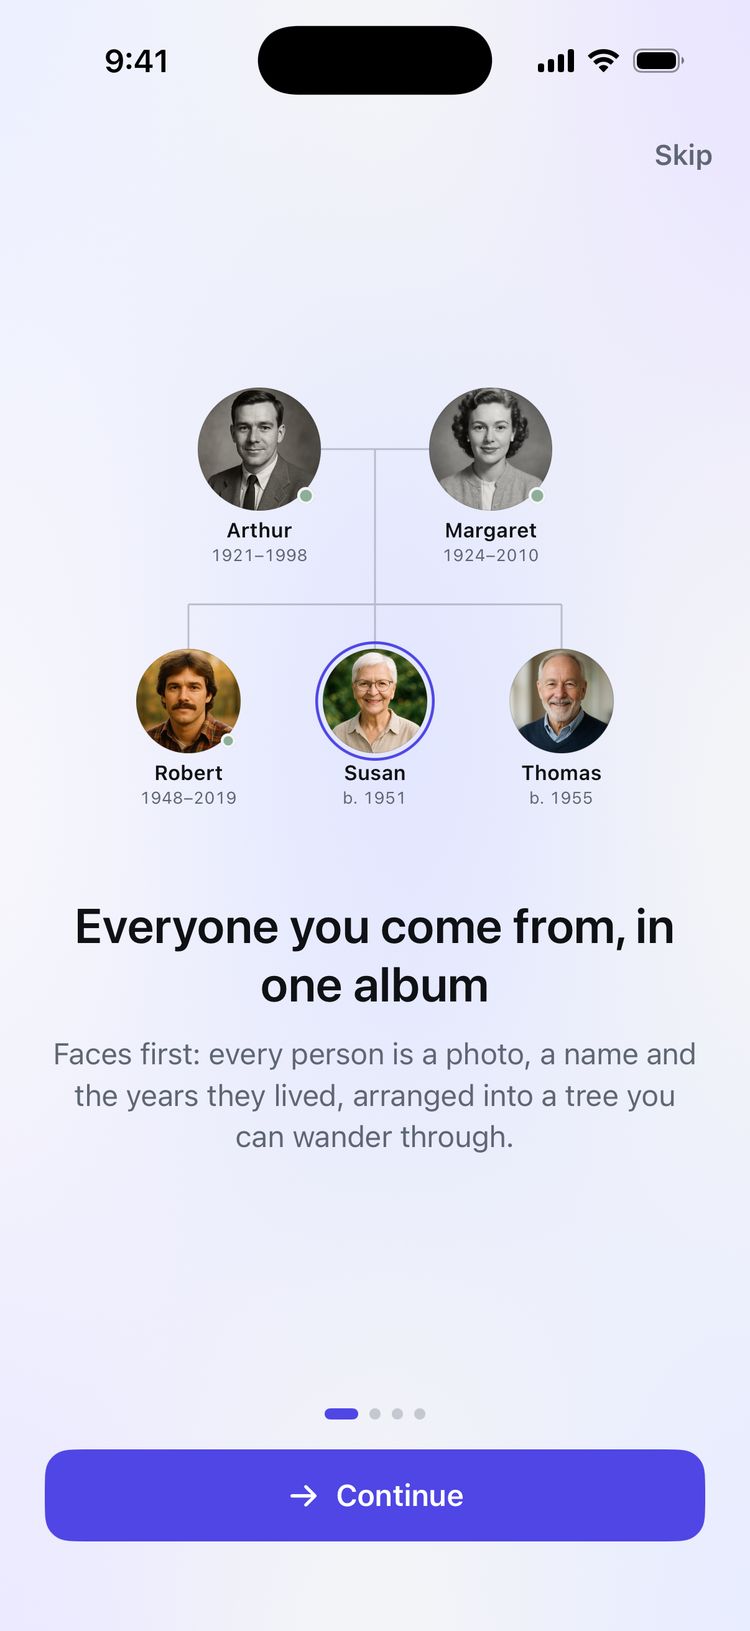
The first welcome page. Start with you
On Start with you, type your First name and Family name. Your Birth year is optional. Tap Create my family.
Your tree is named after your family name, for example Bennett Family, and you become the person it centers on. To rename it later, open Settings, tap Trees, then swipe left on the tree and tap Rename.
Add your photo
In the Album, tap your portrait to open your page, then tap the round camera button on it. Choose photos from your library (up to ten at a time); the first becomes your portrait. On iPad or Mac you can also drop photos onto your page.
To use a different one later, touch and hold it in the Photos card and choose Use as portrait.
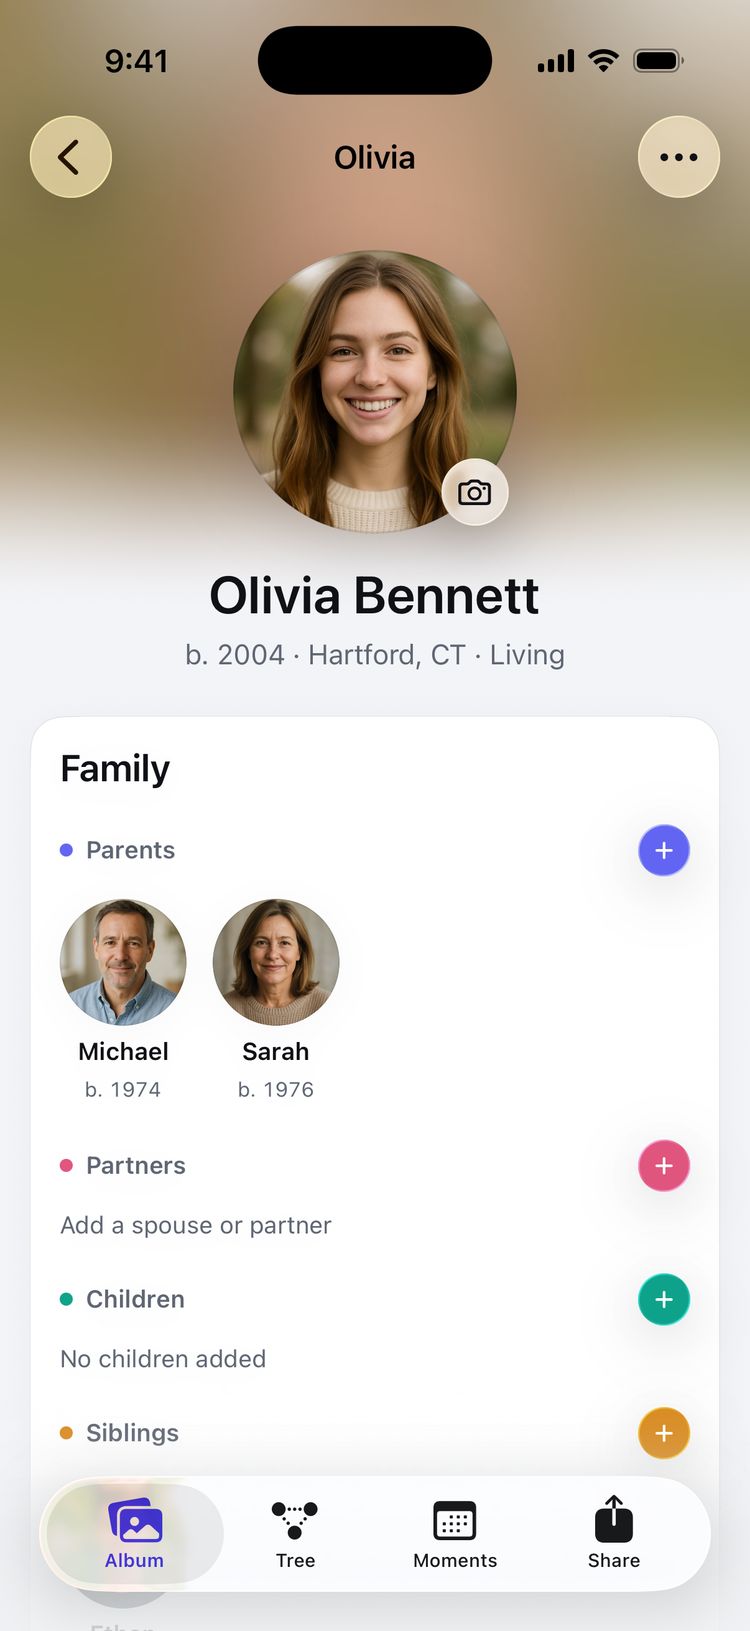
A person’s page: the portrait with its camera button, and the Family card. Fill in the details
Tap the ••• button on your page and choose Edit details. Add a nickname or maiden name, where you were born, and anything else you know.
Dates can be as exact as you know them: just a year, a month and year, or a full date. Turn on Approximate for a date you aren’t sure of, and it shows as c. 1912.
Add your parents
Go to the Tree tab. While you’re the only one there, four buttons already sit around your portrait; later, tap a portrait to bring them out. Tap Parent, above you, to add your mother or father. Adding relatives with the quick-add wheel covers this in detail.
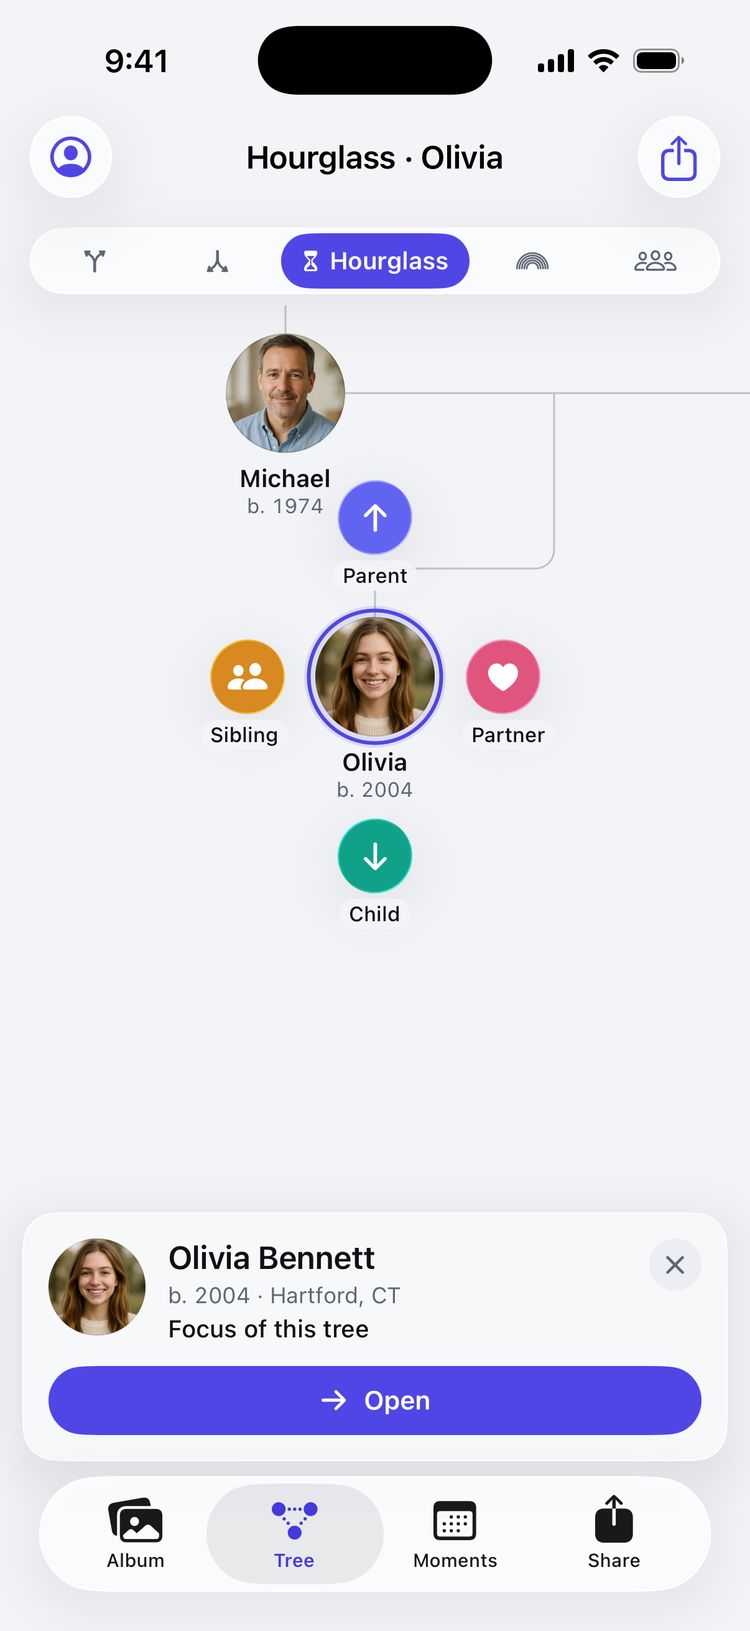
Tap a portrait on the Tree to add a parent, partner, child or sibling.
The four tabs
- Album: everyone as round portraits. Search, sort and open anyone’s page.
- Tree: the family drawn around one person, in several views.
- Moments: today’s birthdays, anniversaries and remembrances, and the family timeline.
- Share: cards for Messages and Instagram, a poster or a family book to print, and your data as a GEDCOM file.
Tips
- Grow the family from people already in it, with the quick-add buttons on the Tree or the + beside Parents, Partners, Children or Siblings on a person’s page. That way everyone stays connected.
- The Notes card on a person’s page saves as you type. It’s the place for stories, memories and the things only family knows.
- Already have a family tree in another app? Choose I have a GEDCOM file on the Start with you page. See Importing and exporting GEDCOM.
- Moving to a new device? Choose Restore from a backup on the same page. See Backups and restoring.
- On iPad and Mac the four tabs sit at the top of the window and open out into a sidebar, with Settings at its foot.
- Free keeps one family of up to 100 people. See Plans and the free trial.
Still stuck? Email support@familytreesapp.com and a person will reply.